
Beeswax Wrap DIY Bar
Craft Your Own Beeswax Wraps with Our DIY Bar
Making your own beeswax food wraps is a fun, hands-on way to reduce plastic waste in your kitchen. Our Beeswax Wrap DIY Bar provides the perfect blend of natural ingredients to create high-quality, reusable wraps for food storage.
Our Beeswax DIY Bar is the Perfect Blend for Durable, Flexible Wraps
Our DIY bar is carefully crafted for optimal adhesion, flexibility, and longevity.
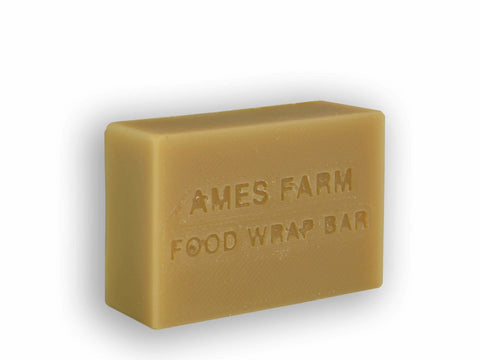
Each 3.25 oz. (92 gram) bar contains:
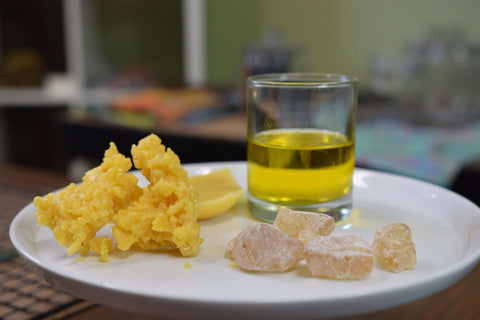
- 100% Beeswax – Provides a natural, water-resistant coating for food wraps.
- Pine Rosin – Adds the tackiness needed for a secure, self-adhesive seal.
- Jojoba Oil – Enhances pliability while naturally extending the wrap’s lifespan.
One bar is enough to coat approximately four 12x12-inch cloth squares or a combination of three 12x12-inch and two 8x8-inch squares.
This pre-mixed formula eliminates the hassle of sourcing ingredients and ensures a smooth, mess-free DIY experience!
Benefits of Creating Your Own Beeswax Wraps
Reduce Single-Use Plastic Use
Reduce single-use plastic for more sustainable and cost-effective food storage. Beeswax wraps can be cleaned and used repeatedly!
Naturally Antibacterial
Beeswax has antimicrobial properties that help keep food fresher.
Long-Lasting & Reusable
Each wrap is expected to last from 12-18 months with proper care, making it an eco-friendly and cost-effective solution and an impressive alternative to single-use plastic.
Easy to Use & Clean
Simply mold the wrap around food or a container with the warmth of your hands. To clean, rinse with water and mild soap, then air dry.
How to Care for Your Homemade Beeswax Wraps
Similar to our pre-made beeswax wraps, your homemade versions can last for months with the right care. Follow these simple tips to keep them in great condition:
Hand Wash Only
Hand wash your beeswax wraps with water and mild soap to clean. Beeswax's melting point is 160 degrees fahrenheit, so warm water is fine.
Air Dry & Store in a Cool, Dry Place
After cleaning your homemade beeswax wraps, let your wraps dry completely by laying them flat or hanging them up. Store your beeswax wraps in a cool, dry location.
Steps to Making Your Own Beeswax Wraps

Step 1: Prepare Your Fabric
Pre-cut your fabric into the desired shapes and sizes. Cotton batik works best as a tightly woven, thin, light material works best. We offer a Beeswax Wrap DIY Kit that includes three 12x12 inch squares of fabric and two 8x8 inch pieces.

Step 2: Melt the Beeswax
To melt the beeswax mixture, place your DIY bar into an electric skillet or a double boiler setup. Gradually heat the mixture on low heat until the beeswax melts into a smooth liquid. Maintain the lowest possible heat that keeps the mixture liquid.

Step 3: Saturate Your Fabric
Fully saturate one cloth at a time in the mixture. A pair of kitchen tongs can be sacrificed for this process. Alternatively, one side of the cloth can be dipped and let cool, then held as the other side is submerged. When removing the cloth, hold it for a moment over the skillet to let as much wax drip off as possible.

Step 4: Set and Smooth the Wax
Lay the fabric flat on a hot plate or a baking tray, and re-heat it using a heat gun, hair dryer, or repurposed clothes iron. While heating, use a paper towel or a metal straightedge to remove as much of the excess wax as you can. This step is important to help the wax and resin bond completely with the fabric, and to remove extra wax to keep the wrap pliable. Any wax mixture you can reclaim at this stage will make more wraps!

Step 5: Dry and Set the Wrap
Carefully place the finished beeswax food wrap on a drying rack, or hang it to dry over a wire coat hanger, and you’re done! It may help to hold the wrap in the air and wave it gently back and forth a few times to help the drying process and to avoid imprints from the drying rack.
Why Beeswax is the Ideal Natural Option for Food Storage
The high-quality beeswax used in our Beeswax Wrap DIY Bar Comes directly from our hives at Ames Farm. This 100% beeswax, pine rosin, and jojoba oil mixture offers a unique combination of durability, flexibility, and a breathable, water-resistant surface, providing an ideal solution for keeping food fresh. Unlike plastic wraps, which contain harmful chemicals, our beeswax is completely free of toxins, ensuring your food stays safe and fresh.
Thanks to its natural stickiness, combined with pine resin, the beeswax wraps tightly cling to bowls, containers, and food items without the need for harmful adhesives. This makes it an eco-friendly and sustainable option, eliminating the waste caused by single-use plastic wraps.
Beeswax naturally possesses antimicrobial and antifungal properties, making it an excellent defense against bacteria and mold growth. This helps preserve the freshness of your food for a longer period. When cared for properly, these wraps can be reused for months, maintaining their integrity. Whether you're storing cheese, wrapping leftovers, or keeping fruits and veggies fresh, our beeswax wraps are a safe and natural way to reduce waste and protect your food. Please avoid using them with red meat or seafood.
Frequently Asked Questions About the DIY Beeswax Food Wrap Bar
Make Your Own Eco-Friendly Beeswax Wraps Today
Say goodbye to plastic and hello to eco-friendly beeswax wraps! With our DIY Beeswax Wrap Bar, you can create your own reusable wraps to keep your food fresh while reducing waste.
Order your DIY Beeswax Wrap Bar now and start crafting your sustainable kitchen essentials!